Understanding how to set up a solar inverter system at home can help homeowners reduce electricity costs while enjoying reliable backup power. As energy prices continue to rise and power outages become more frequent, many households are turning to solar energy solutions. Fortunately, setting up a solar inverter system is easier than many people think.
What Is a Solar Inverter System?
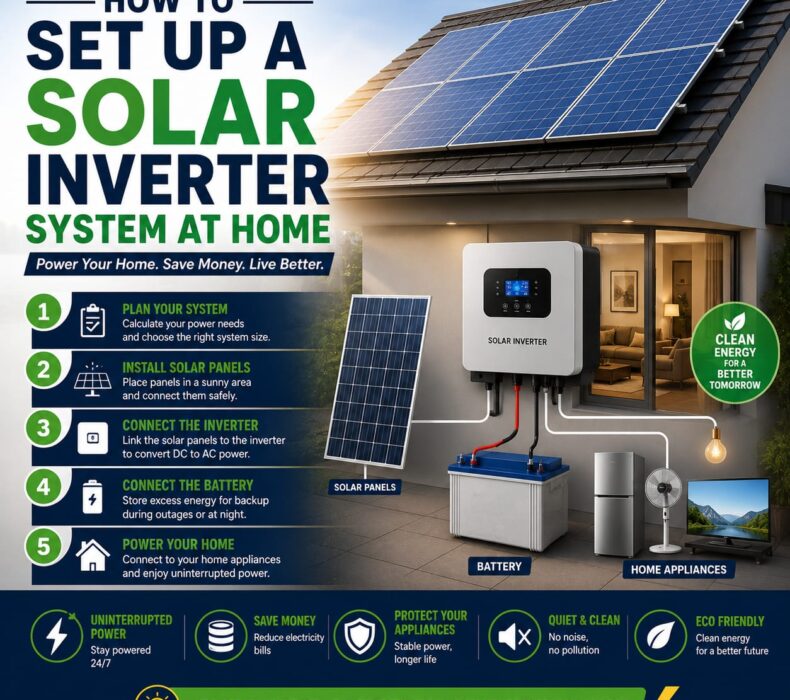
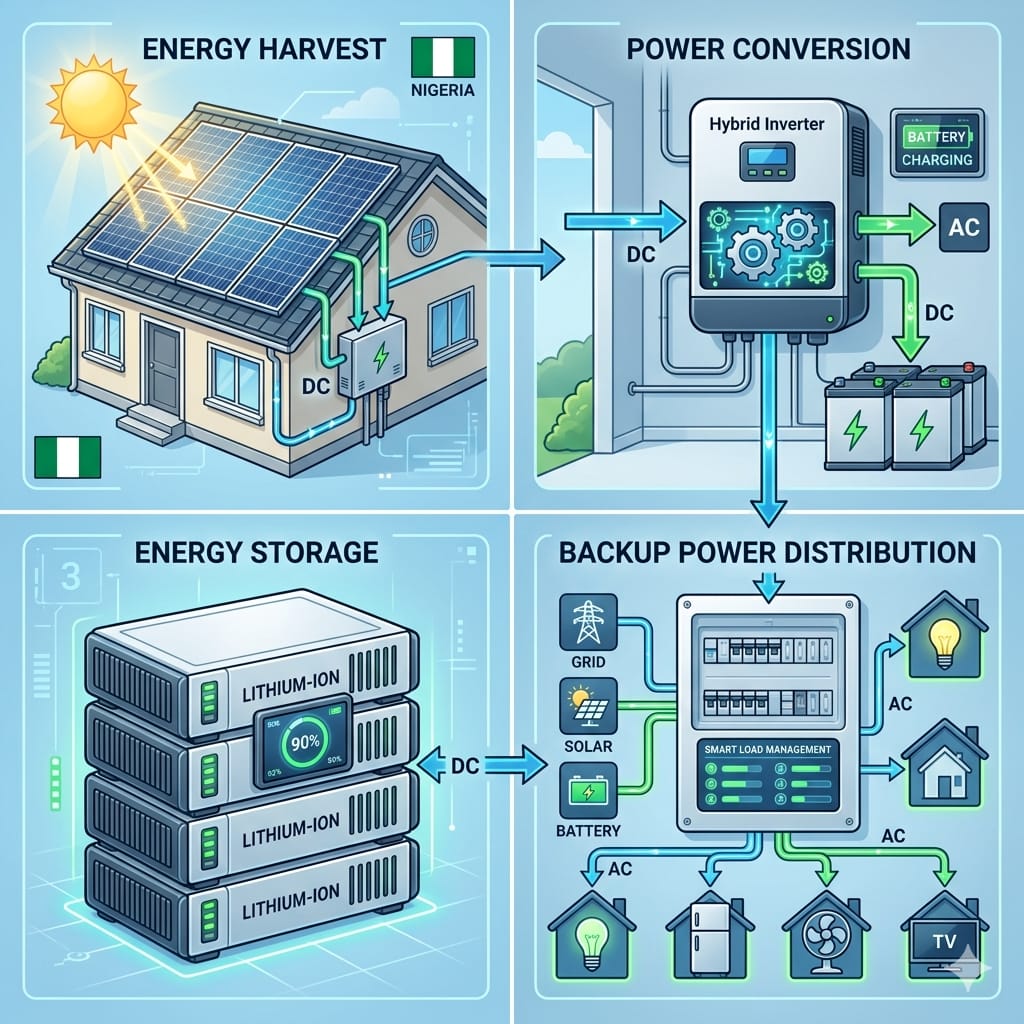
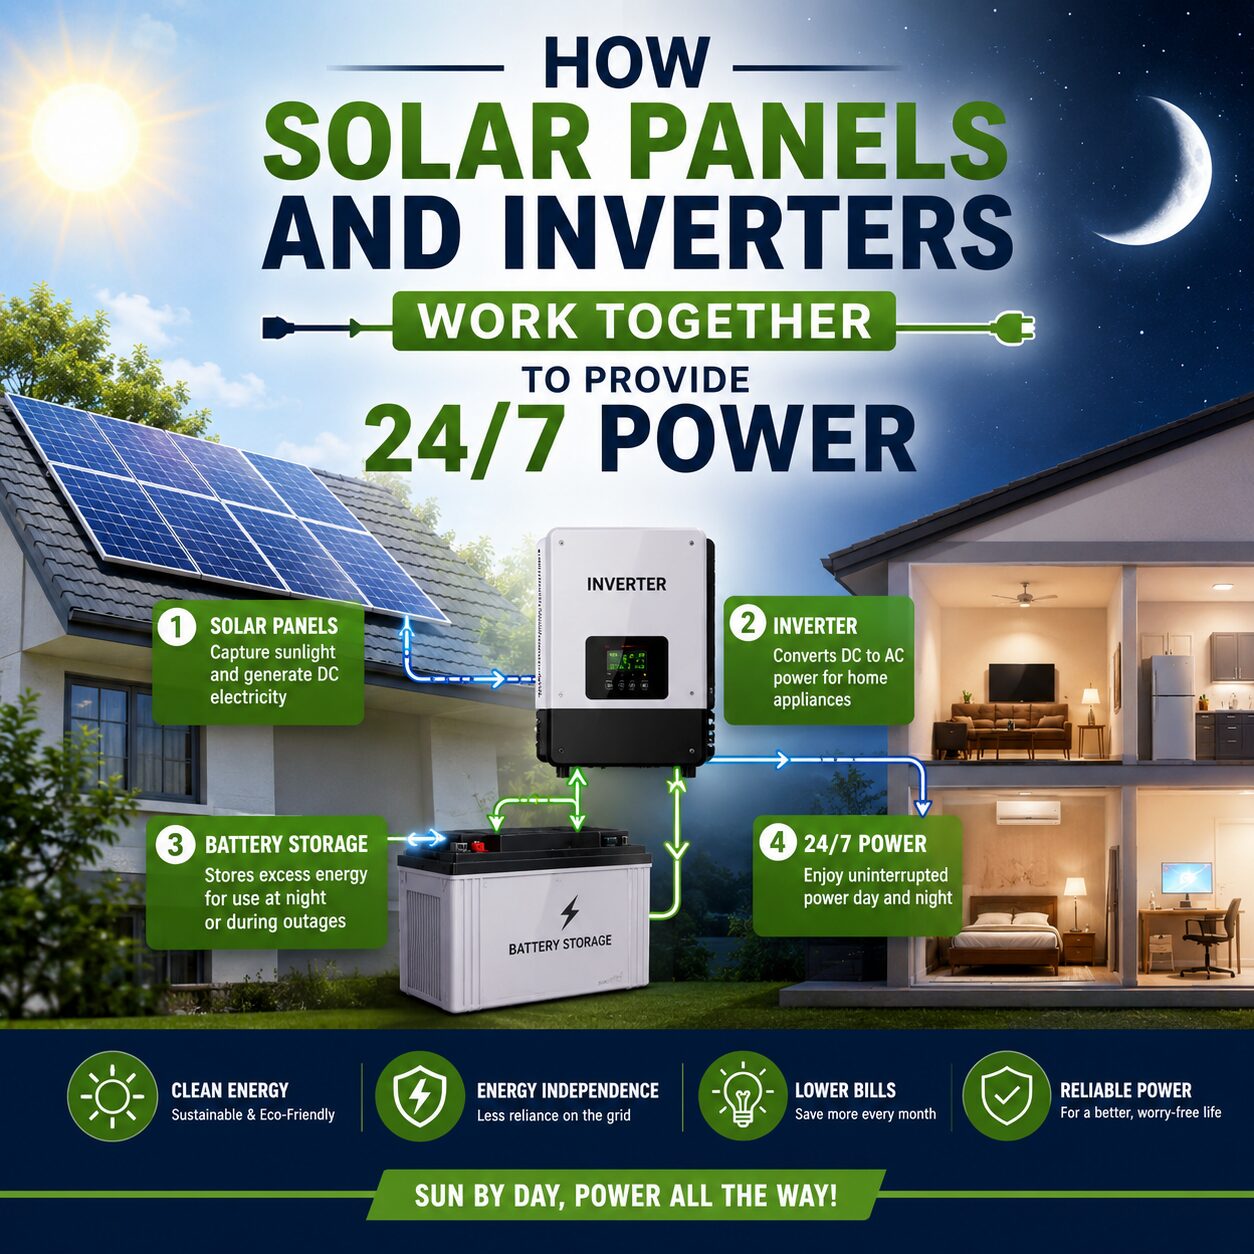
A solar inverter system converts the direct current (DC) electricity generated by solar panels into alternating current (AC) electricity used by household appliances. Additionally, the system can store excess energy in batteries for use during nighttime or power outages.
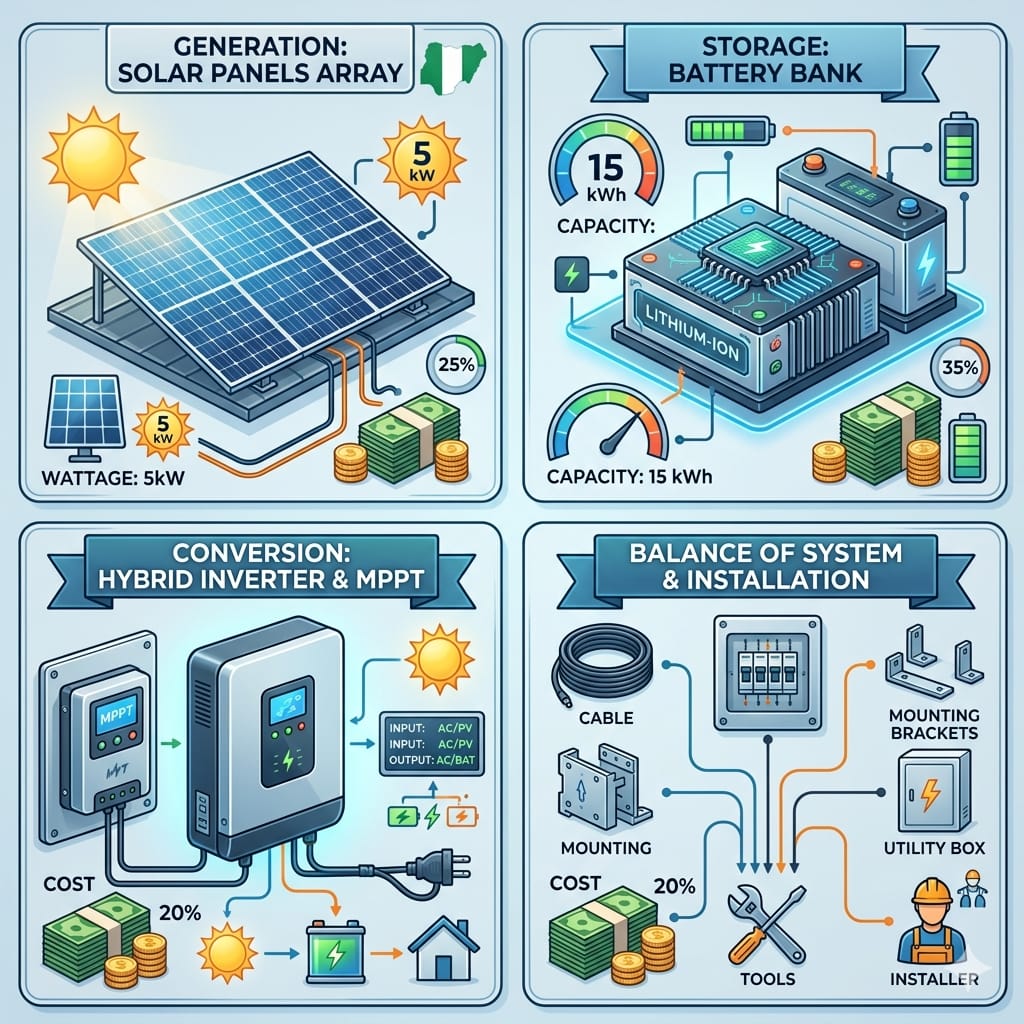
A typical solar inverter system includes:
Solar panels
Solar inverter
Battery bank
Charge controller (if required)
Mounting structures
Electrical wiring and protection devices
Together, these components create a complete renewable energy solution for your home.
Benefits of Installing a Solar Inverter System at Home
Before learning the installation process, it is important to understand the advantages.
Lower Electricity Bills
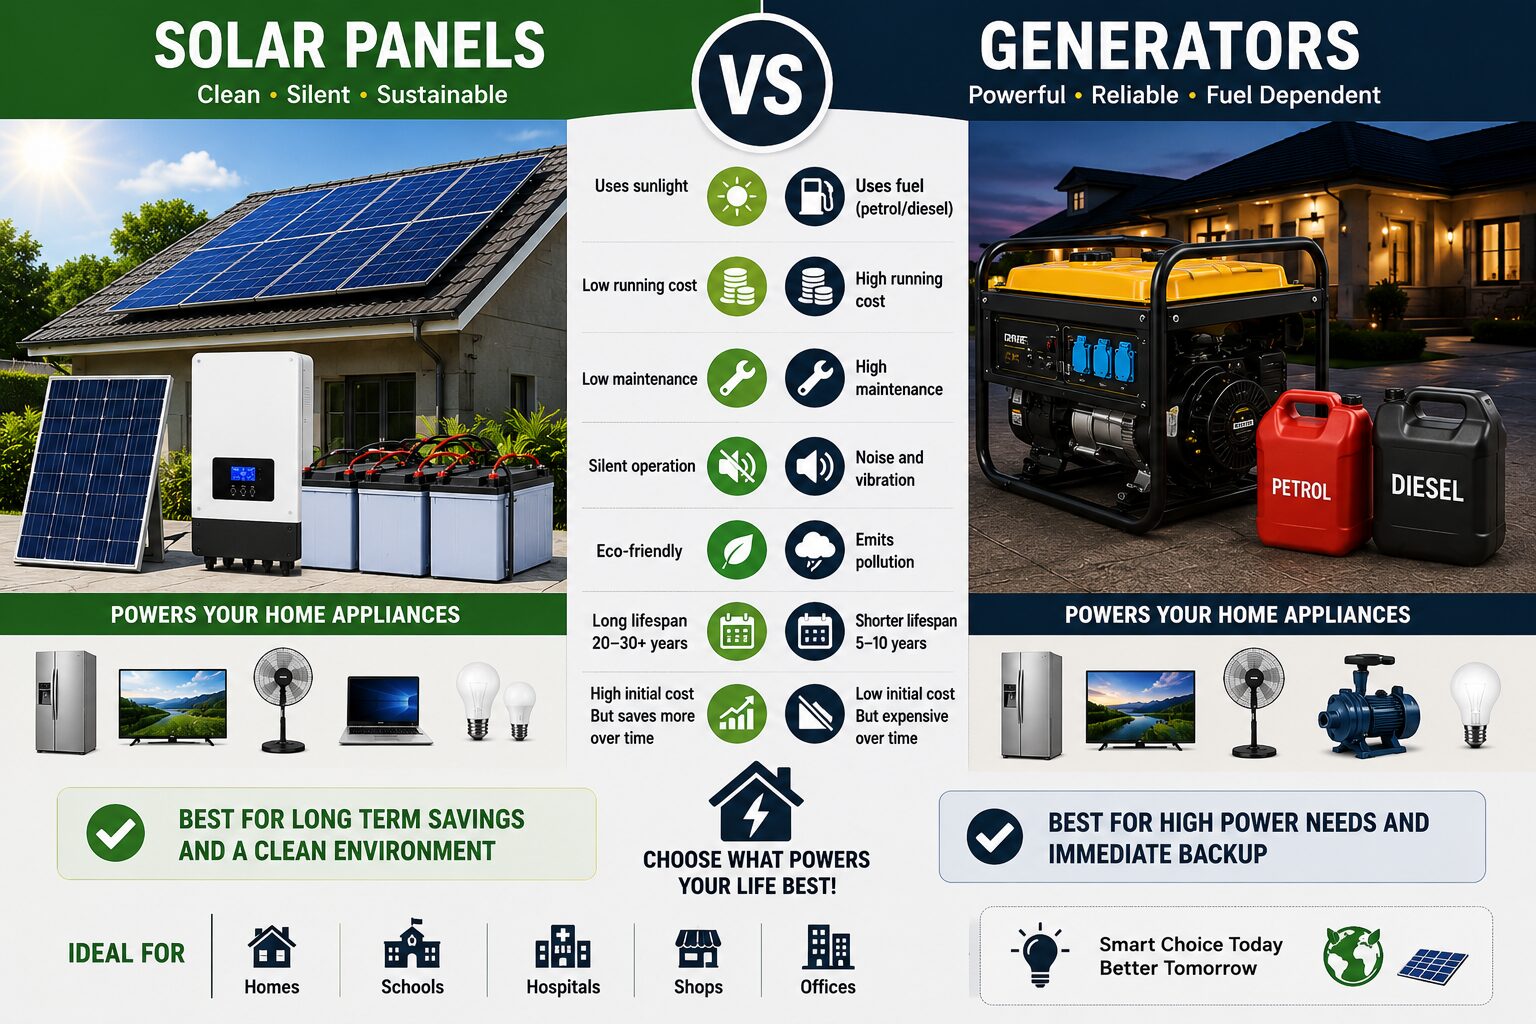
Solar energy reduces dependence on grid electricity. Consequently, homeowners can significantly lower their monthly energy expenses.
Reliable Backup Power
Power outages can disrupt daily activities. However, a solar inverter system ensures that essential appliances remain operational.
Environmentally Friendly Energy
Unlike generators that consume fuel, solar systems generate clean and renewable energy. Therefore, they contribute to a healthier environment.
Increased Property Value
Furthermore, homes equipped with solar power systems often attract buyers who value energy efficiency and long-term savings.
Step 1: Assess Your Household Power Needs
The first step in learning how to set up a solar inverter system at home is determining your energy requirements.
Make a list of appliances you want to power, such as:
Lights
Fans
Televisions
Refrigerators
Laptops
Routers
Air conditioners
Next, calculate their total wattage and estimated daily usage. As a result, you can choose the right inverter, battery capacity, and solar panel size.
Step 2: Choose the Right Solar Inverter
Selecting the correct inverter is crucial for system performance.
Pure Sine Wave Inverters
Pure sine wave inverters provide clean and stable electricity. Therefore, they are ideal for sensitive electronics and household appliances.
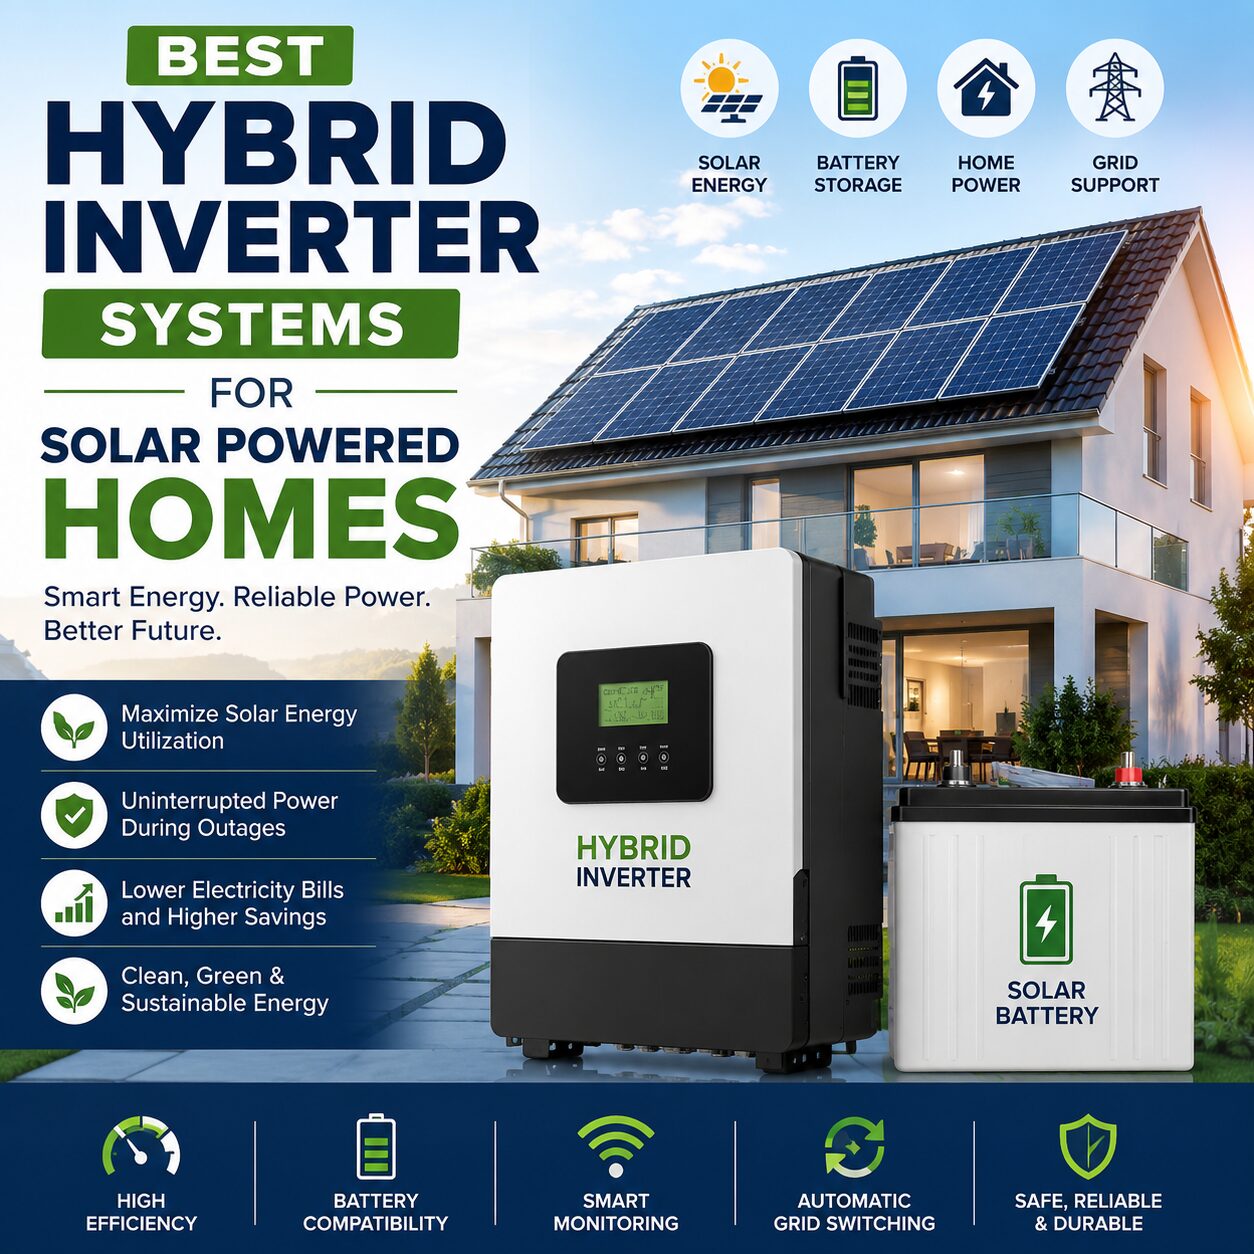
Hybrid Solar Inverters
Hybrid inverters combine solar charging, battery management, and grid support in one unit. Consequently, they offer greater flexibility and efficiency.
Off-Grid Inverters
Off-grid systems operate independently of utility power. As a result, they are suitable for areas with unreliable electricity supply.
Always select an inverter that can handle your total power load with room for future expansion.
Step 3: Select Suitable Solar Panels
Solar panels generate the electricity that powers your home.
When choosing panels, consider:
Panel efficiency
Warranty period
Available roof space
Weather resistance
Manufacturer reputation
Additionally, high-efficiency panels produce more energy within limited installation areas.
Step 4: Choose the Right Battery Bank
Batteries store excess solar energy for later use.
Common battery options include:
Lithium Batteries
Lithium batteries offer longer lifespan, faster charging, and higher efficiency. Therefore, they are becoming increasingly popular among homeowners.
Lead-Acid Batteries
Lead-acid batteries are more affordable initially. However, they generally require more maintenance and have shorter lifespans.
Consequently, your budget and energy needs should guide your battery selection.
Step 5: Identify the Best Installation Location
The placement of system components affects overall performance.
Solar Panels
Install solar panels where they receive maximum sunlight throughout the day.
Avoid areas with:
Tree shading
Building shadows
Obstructions that block sunlight
Inverter and Batteries
Meanwhile, install the inverter and batteries indoors or in a protected area.
The location should be:
Dry
Well-ventilated
Cool
Easily accessible for maintenance
As a result, equipment lifespan and efficiency improve significantly.
Step 6: Install the Solar Panels
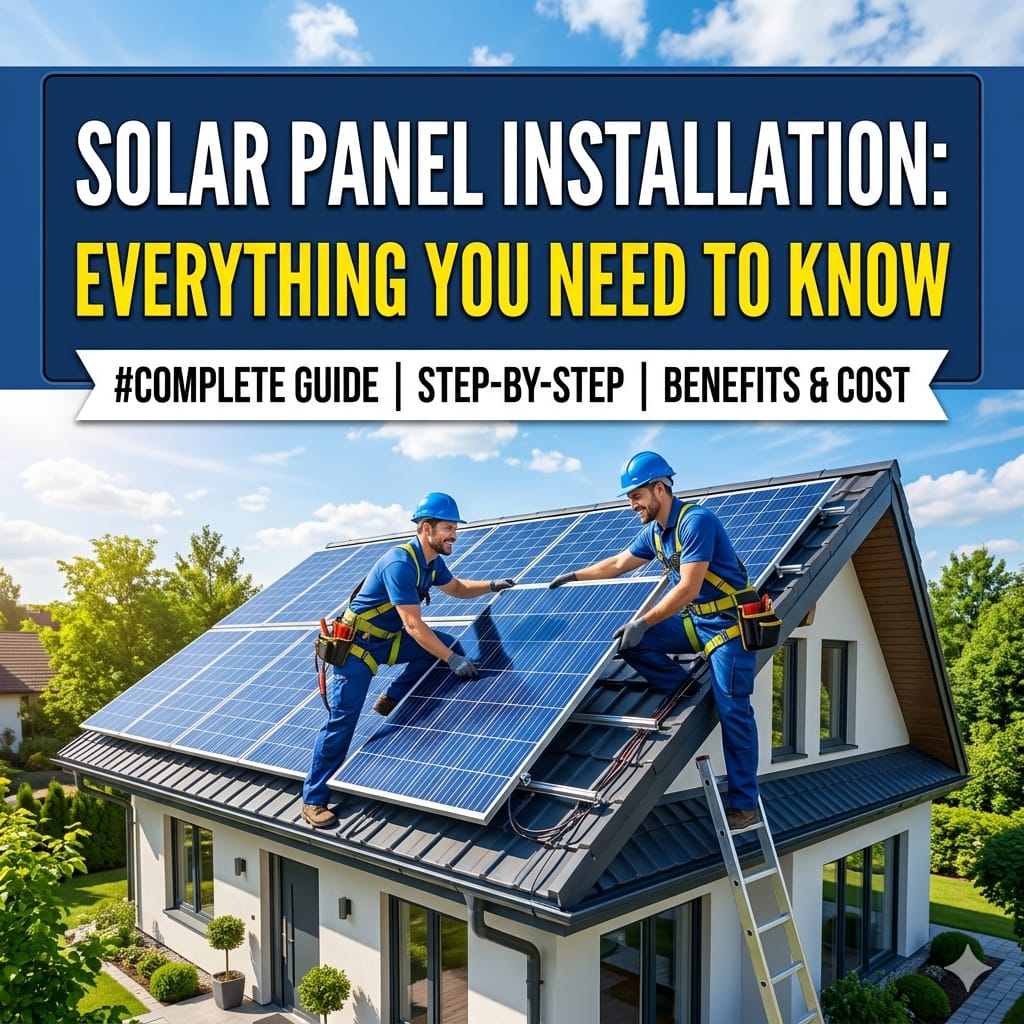
Once the location has been selected, mount the solar panels securely.
Ensure that:
Mounting brackets are properly fastened.
Panels are angled for optimal sunlight exposure.
Wiring is protected from weather conditions.
Furthermore, proper installation maximizes energy generation throughout the year.
Step 7: Connect the Battery Bank
After installing the panels, connect the battery bank according to the system design.
During this process:
Use appropriate cable sizes.
Ensure correct polarity.
Follow manufacturer guidelines carefully.
Additionally, install battery protection devices to enhance safety.
Step 8: Install and Connect the Solar Inverter
The inverter serves as the heart of the system.
Connect it to:
Solar panels
Battery bank
Household electrical distribution system
However, electrical connections should comply with safety standards and local regulations.
Therefore, many homeowners prefer using qualified solar technicians for this stage.
Step 9: Install Safety and Protection Devices
Electrical protection is essential for reliable operation.
Recommended protection devices include:
Circuit breakers
Surge protectors
Fuses
Disconnect switches
Consequently, your solar inverter system remains protected against faults and voltage spikes.
Step 10: Test the Entire System
Before regular operation, thoroughly test the installation.
Verify that:
Solar panels are generating power.
Batteries are charging correctly.
The inverter is functioning properly.
Connected appliances operate normally.
Moreover, testing helps identify and correct potential issues before they become major problems.
Conclusion
Learning how to set up a solar inverter system at home is an excellent step toward energy independence and long-term savings. By carefully assessing your energy needs, selecting quality components, and following proper installation procedures, you can create a reliable power solution for your household.









 Get it on
  Download on the