






- Adaobi
- July 13, 2026
- No Comments
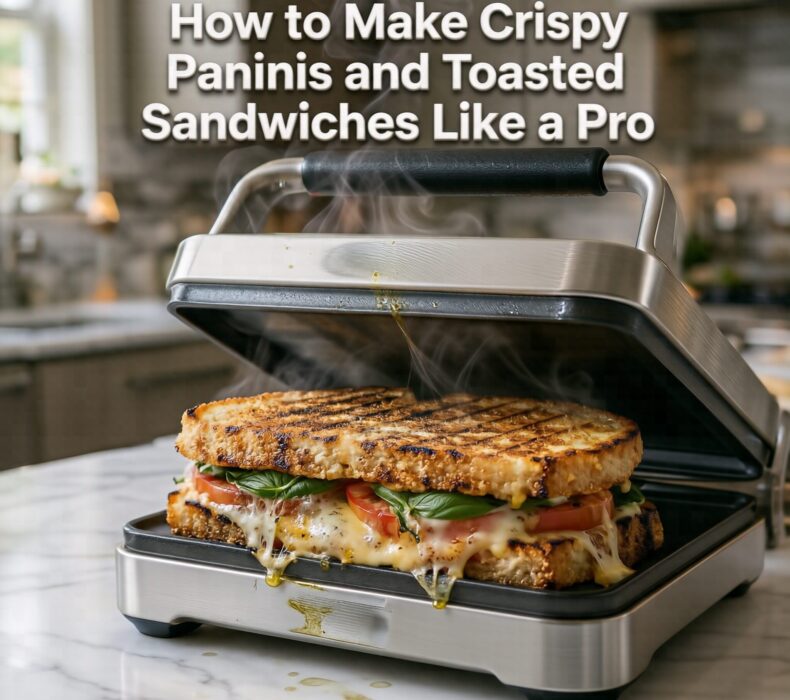
Nothing beats the taste of a perfectly toasted sandwich with a crispy golden crust and a warm, flavorful filling. Whether you’re preparing a quick breakfast, a satisfying lunch, or a light dinner, learning How to Make Crispy Paninis and Toasted Sandwiches Like a Pro can transform simple ingredients into café-quality meals. With the right bread, fillings, cooking techniques, and sandwich maker, you can create delicious sandwiches that are crispy on the outside, soft on the inside, and packed with flavor. Moreover, these tips will help you avoid soggy bread, uneven cooking, and burnt sandwiches.
Why Learn How to Make Crispy Paninis and Toasted Sandwiches Like a Pro?
Making toasted sandwiches may seem easy, but achieving the perfect balance of crispiness and flavor requires a few essential techniques. Fortunately, once you understand the basics, you can prepare professional-quality sandwiches at home without expensive equipment.
Some of the benefits include:
- Better texture and crunch
- Evenly melted fillings
- Faster meal preparation
- Healthier homemade meals
- Less food waste
- Restaurant-style presentation
As a result, every meal becomes more enjoyable.
Choose the Right Bread
The foundation of every great panini or toasted sandwich is quality bread.
Different breads produce different textures, so choose one that matches your preferred style.
Some excellent options include:
- Sourdough
- Ciabatta
- Whole wheat bread
- Multigrain bread
- Brioche
- French bread
- Focaccia
Thicker breads usually hold fillings better and remain crispy after grilling.
Furthermore, fresh bread produces superior results compared to stale slices.
Select High-Quality Fillings
Even the best sandwich maker cannot improve poor-quality ingredients.
For delicious sandwiches, choose fresh fillings such as:
- Mozzarella cheese
- Cheddar cheese
- Grilled chicken
- Turkey
- Tuna
- Smoked beef
- Fresh tomatoes
- Avocado
- Spinach
- Bell peppers
- Mushrooms
- Caramelized onions
Combining different textures and flavors creates more satisfying sandwiches.
Don’t Overfill Your Sandwich
Although adding extra ingredients may seem tempting, overfilling often leads to uneven cooking.
Excess fillings can spill out, prevent the bread from sealing properly, and increase cleaning time.
Instead, use balanced portions that allow the sandwich maker to close comfortably.
Consequently, your sandwich cooks more evenly and retains its shape.
Preheat the Sandwich Maker
One of the biggest mistakes beginners make is placing bread into a cold appliance.
Always allow the sandwich maker or panini press to preheat fully before adding your sandwich.
A hot cooking surface immediately begins crisping the bread while locking in moisture.
Therefore, preheating produces a crispier exterior and better overall texture.
Butter or Brush the Bread Lightly
For a rich golden finish, spread a thin layer of butter on the outside of the bread.
Alternatively, lightly brush it with olive oil if you prefer a lighter option.
Avoid applying too much, as excessive butter may make the sandwich greasy.
A light coating creates an attractive golden crust without overpowering the filling.
Use the Right Cheese
Cheese plays an important role in both flavor and texture.
Some cheeses melt better than others.
Excellent choices include:
- Mozzarella
- Cheddar
- Gouda
- Monterey Jack
- Swiss
- Provolone
These cheeses melt evenly while creating the creamy texture that makes toasted sandwiches so enjoyable.
Add Moist Ingredients Carefully
Fresh tomatoes, sauces, and vegetables can add flavor, but too much moisture may cause soggy bread.
To avoid this:
- Pat vegetables dry before use.
- Use sauces sparingly.
- Place cheese next to the bread to create a moisture barrier.
As a result, your sandwich stays crispy throughout cooking.
Cook at the Right Temperature
Most modern sandwich makers automatically regulate heat.
However, if your appliance includes adjustable temperature controls, use medium to medium-high heat.
Cooking too quickly may burn the bread before the filling warms completely.
Conversely, cooking at very low temperatures may leave the bread soft instead of crispy.
Balanced heat produces the best results.
Avoid Pressing Too Hard
A panini press naturally compresses the sandwich.
There is no need to force the lid down aggressively.
Excessive pressure squeezes out fillings and may flatten the bread unnecessarily.
Instead, allow the appliance to apply gentle, even pressure during cooking.
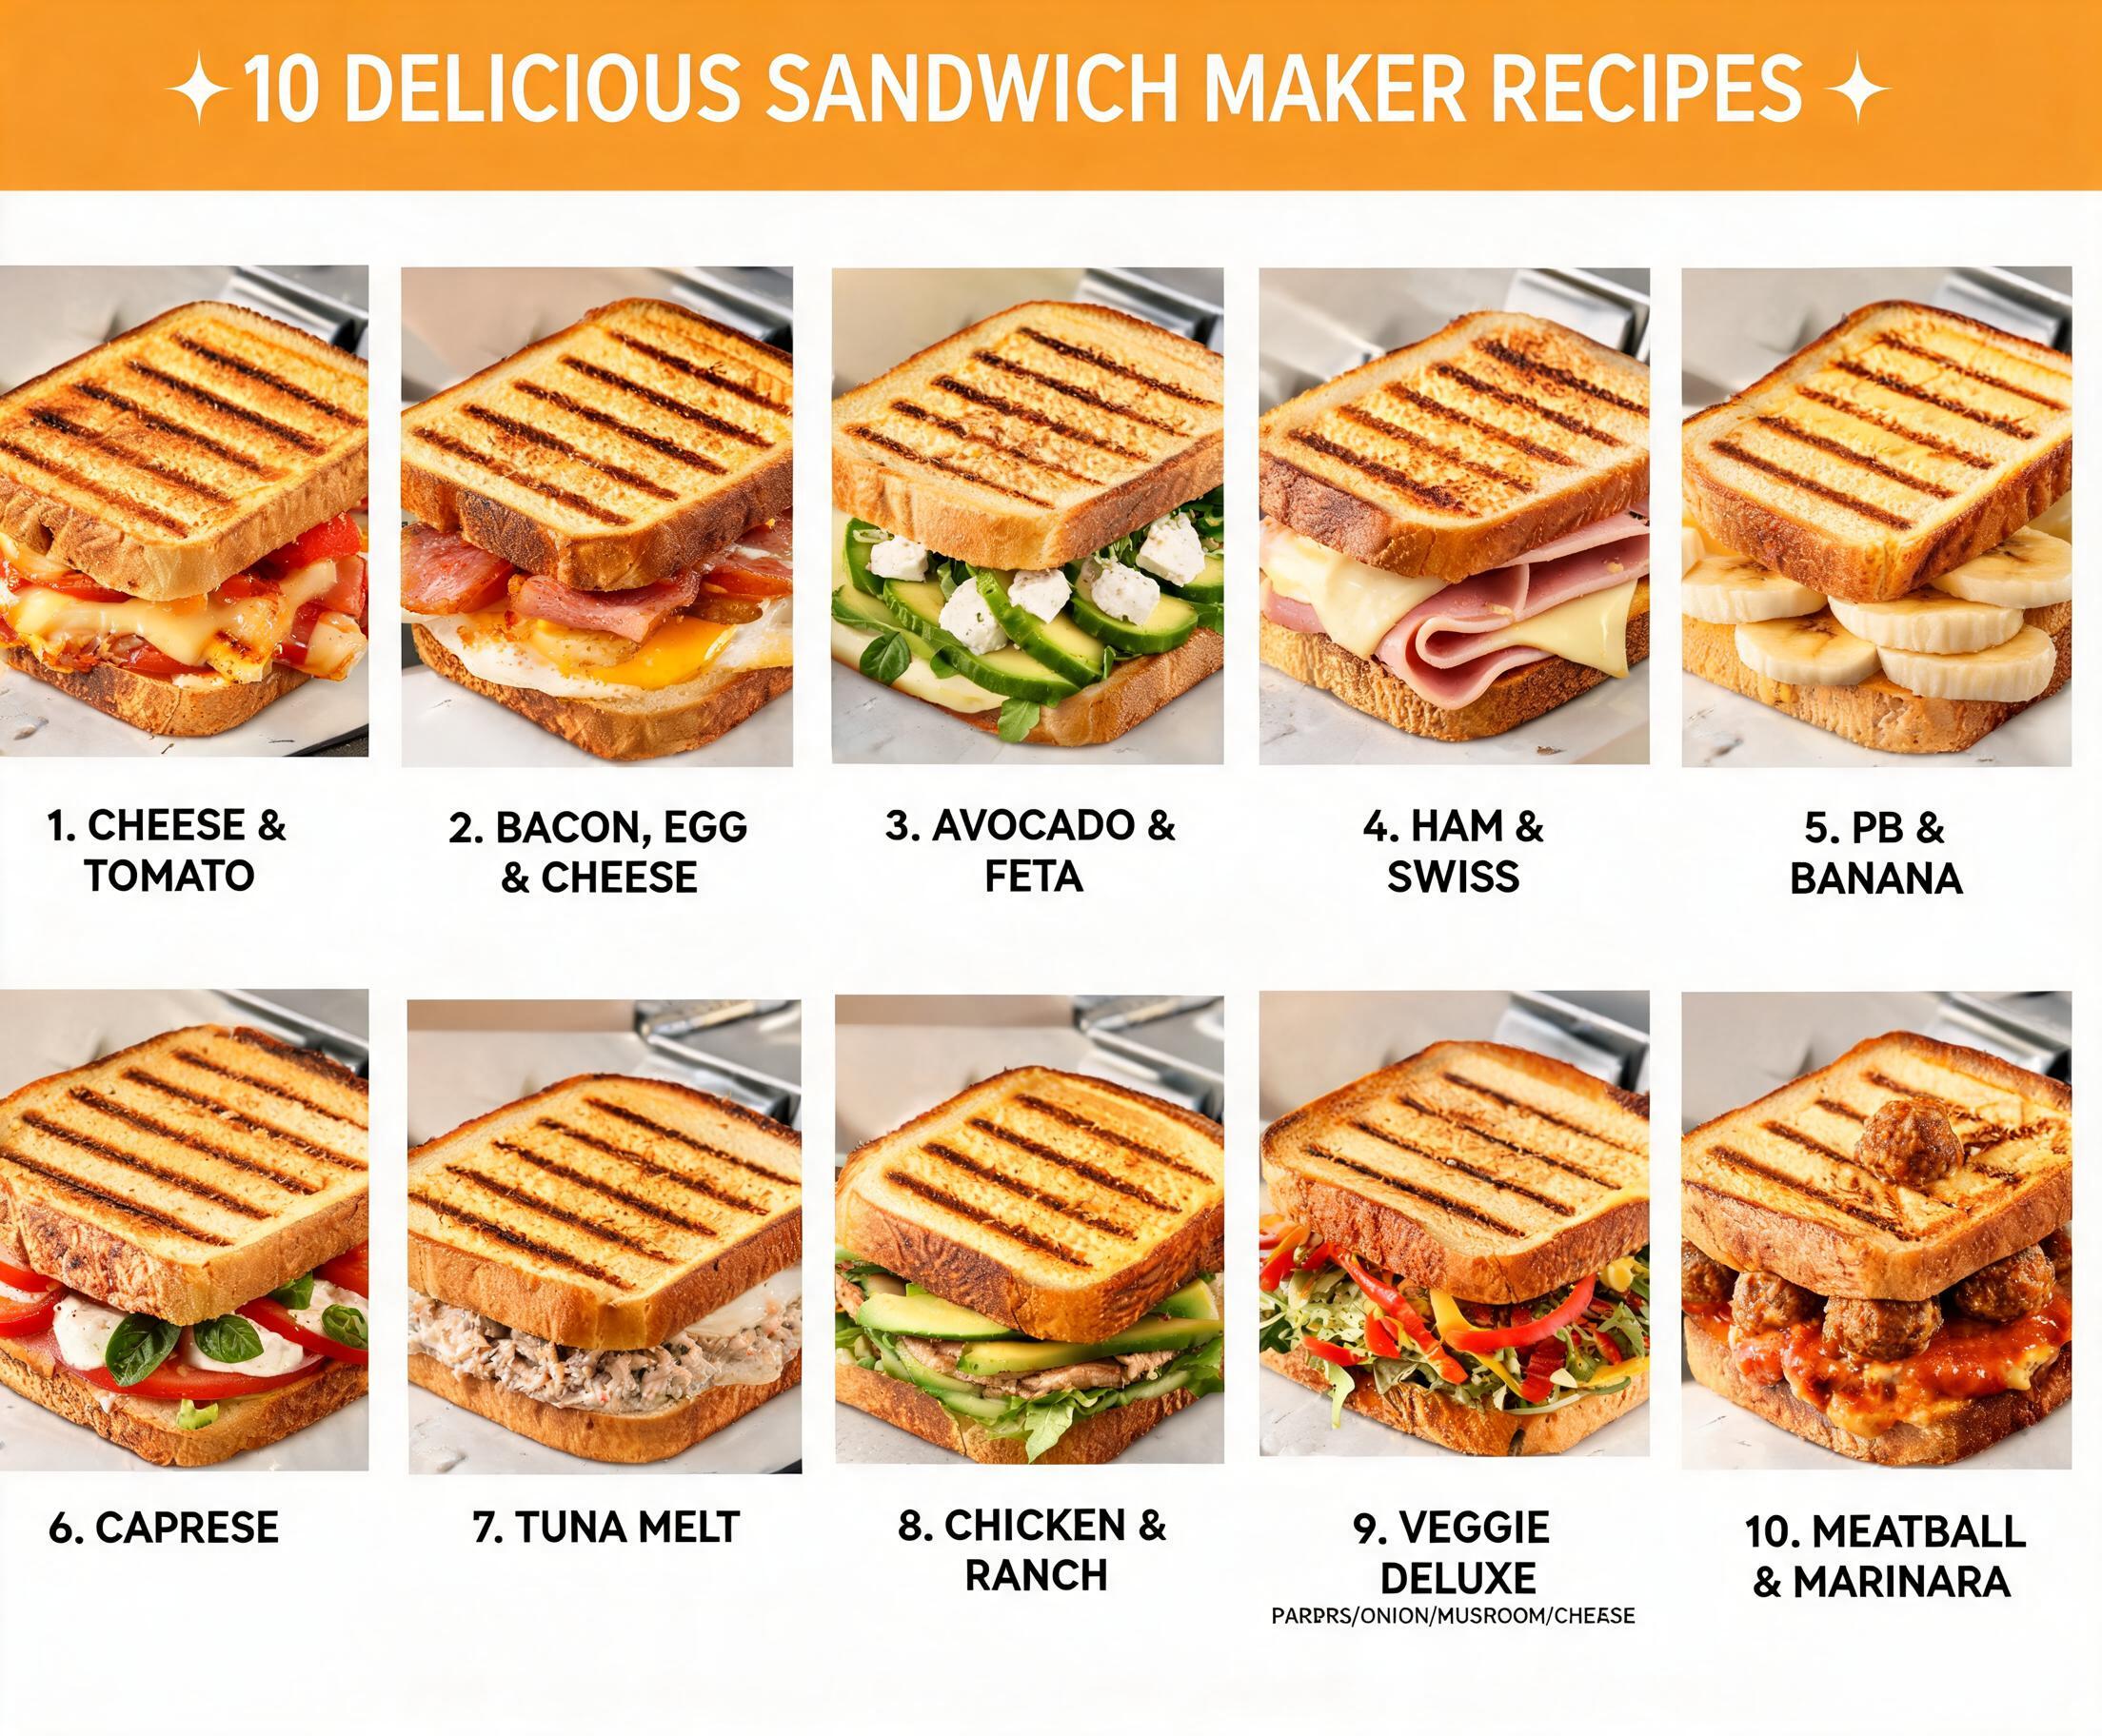
Experiment with Flavor Combinations
One of the joys of making sandwiches at home is experimenting with new ingredients.
Popular combinations include:
Chicken and Pesto
Grilled chicken, mozzarella, pesto, and spinach.
Turkey and Cranberry
Turkey, Swiss cheese, cranberry sauce, and lettuce.
Mediterranean
Feta cheese, olives, tomatoes, spinach, and grilled peppers.
Breakfast Panini
Egg, sausage, cheddar cheese, and caramelized onions.
Veggie Delight
Mushrooms, zucchini, spinach, tomatoes, and mozzarella.
Trying new recipes keeps meals exciting and enjoyable.
Let the Sandwich Rest Before Cutting
After cooking, allow the sandwich to rest for one or two minutes.
This gives the melted cheese time to settle and prevents fillings from spilling out immediately after slicing.
Additionally, resting slightly improves the overall texture.
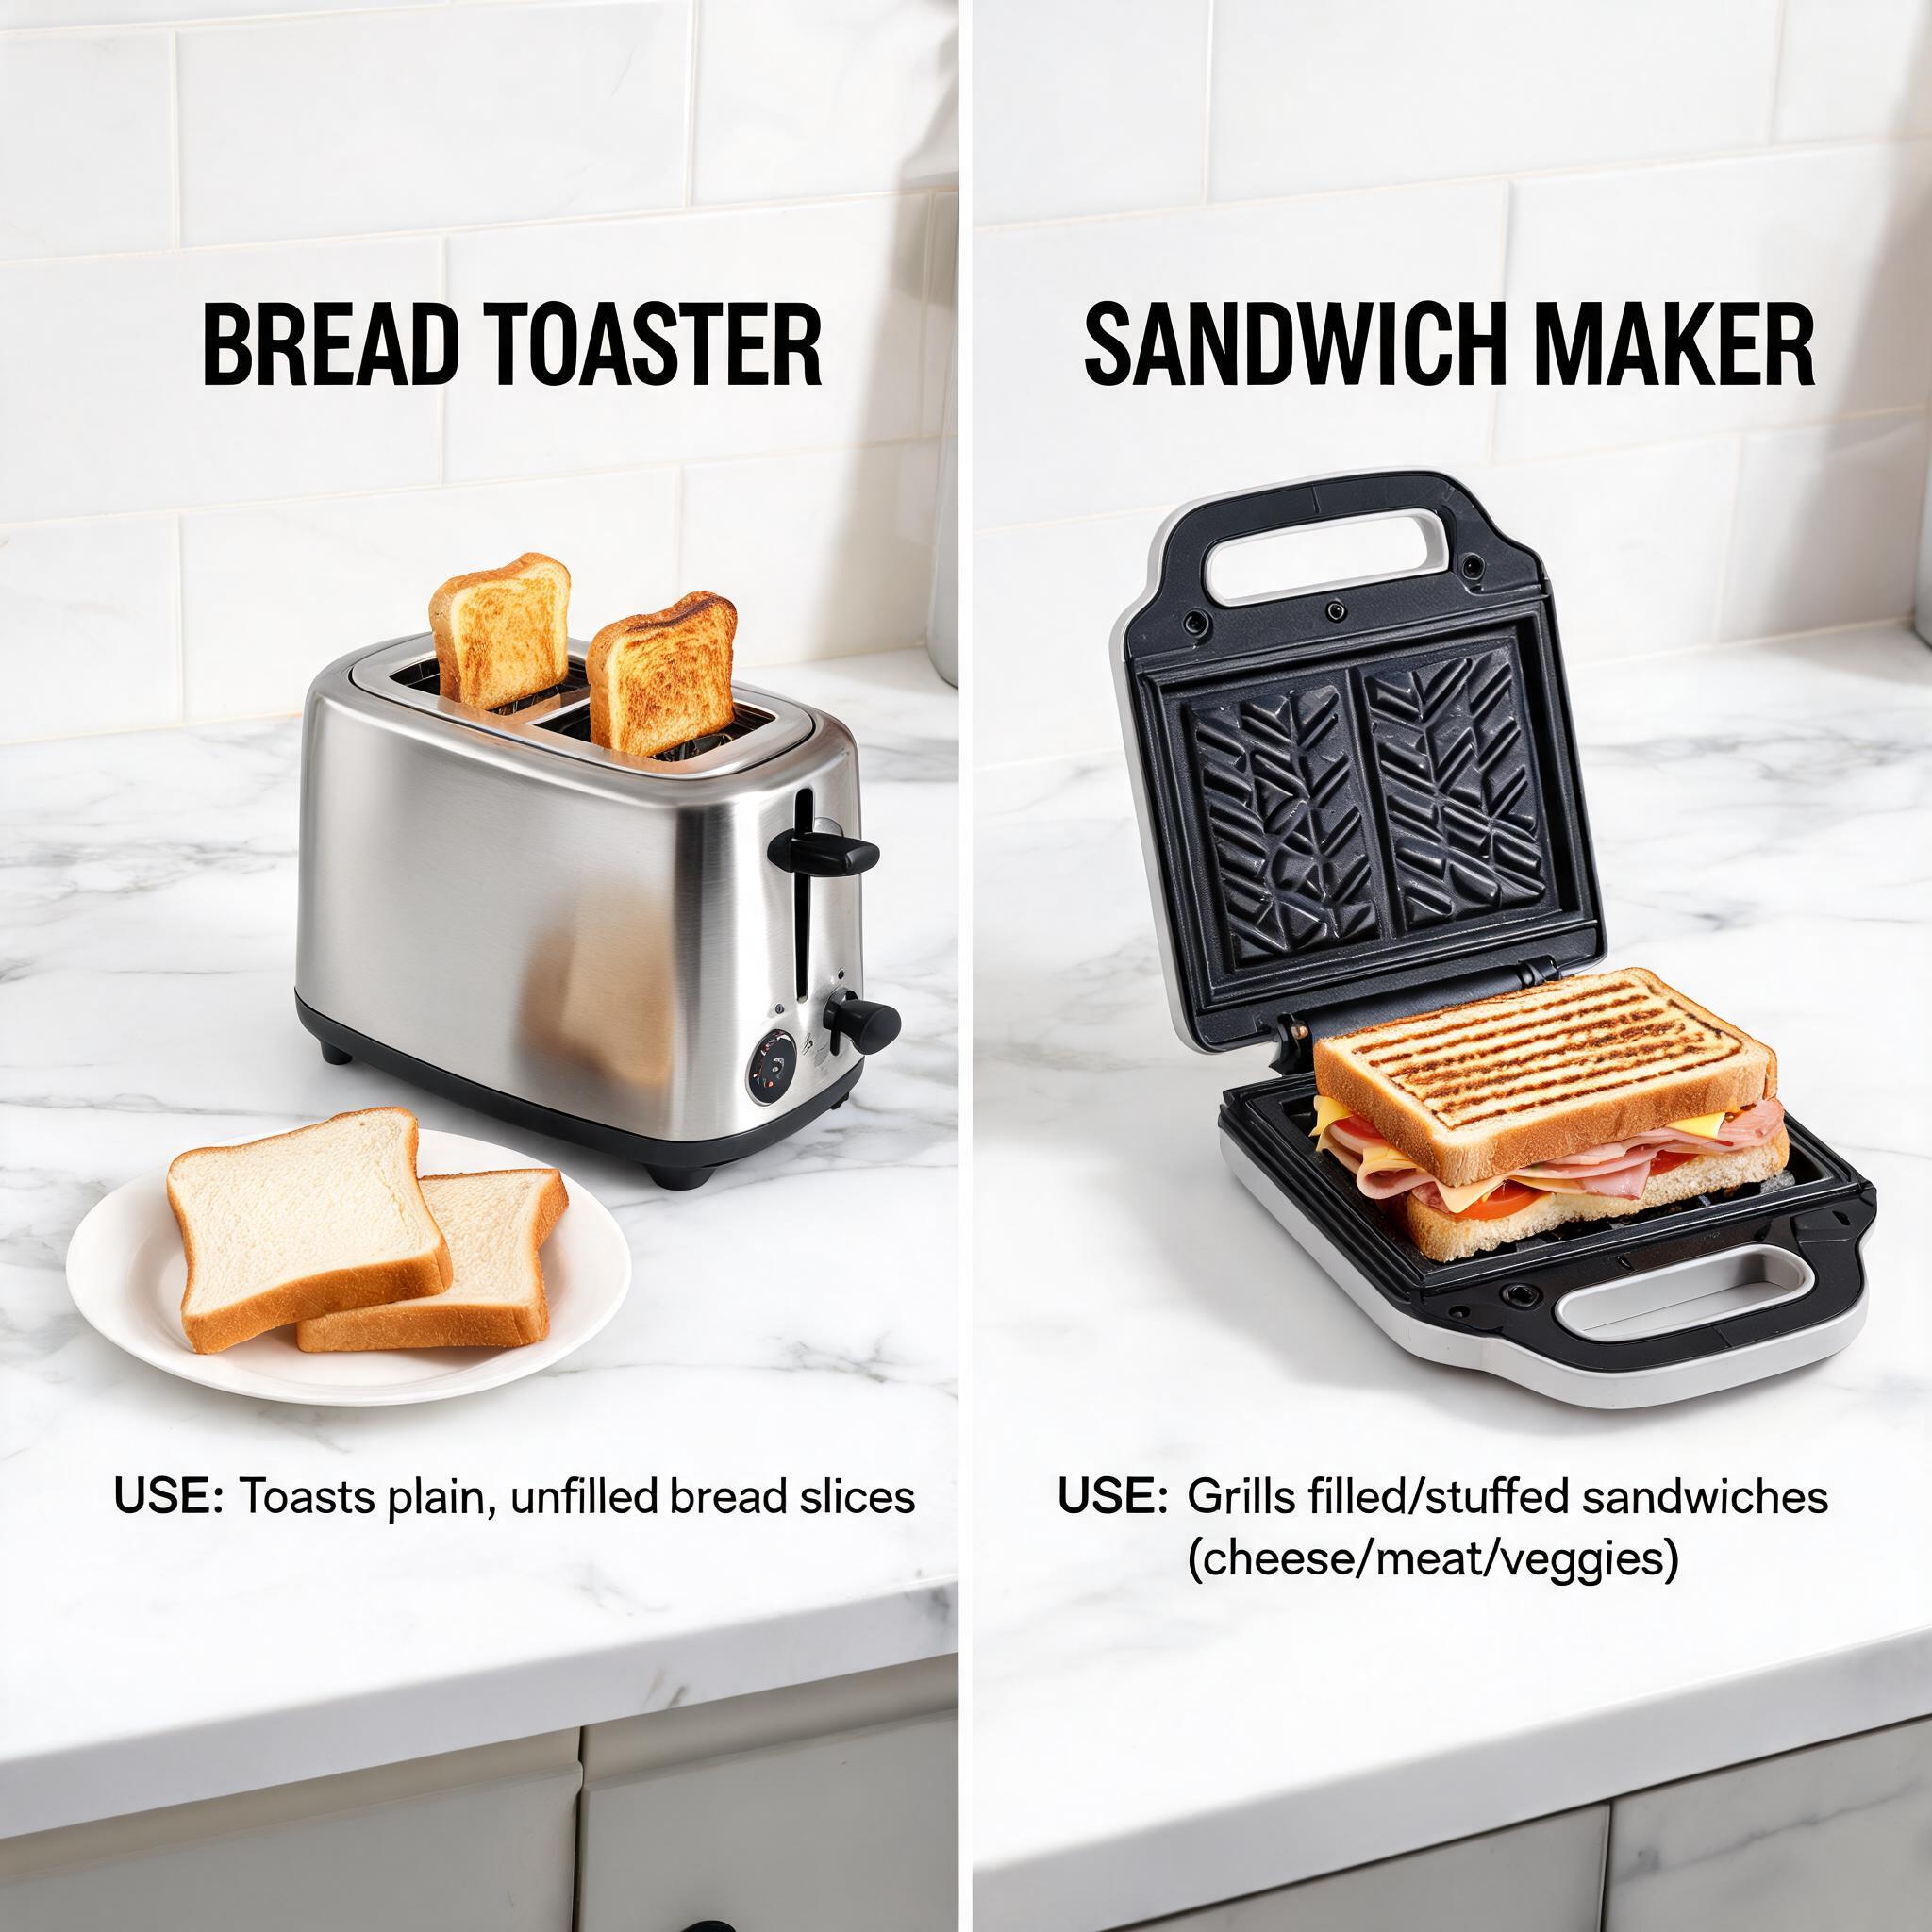
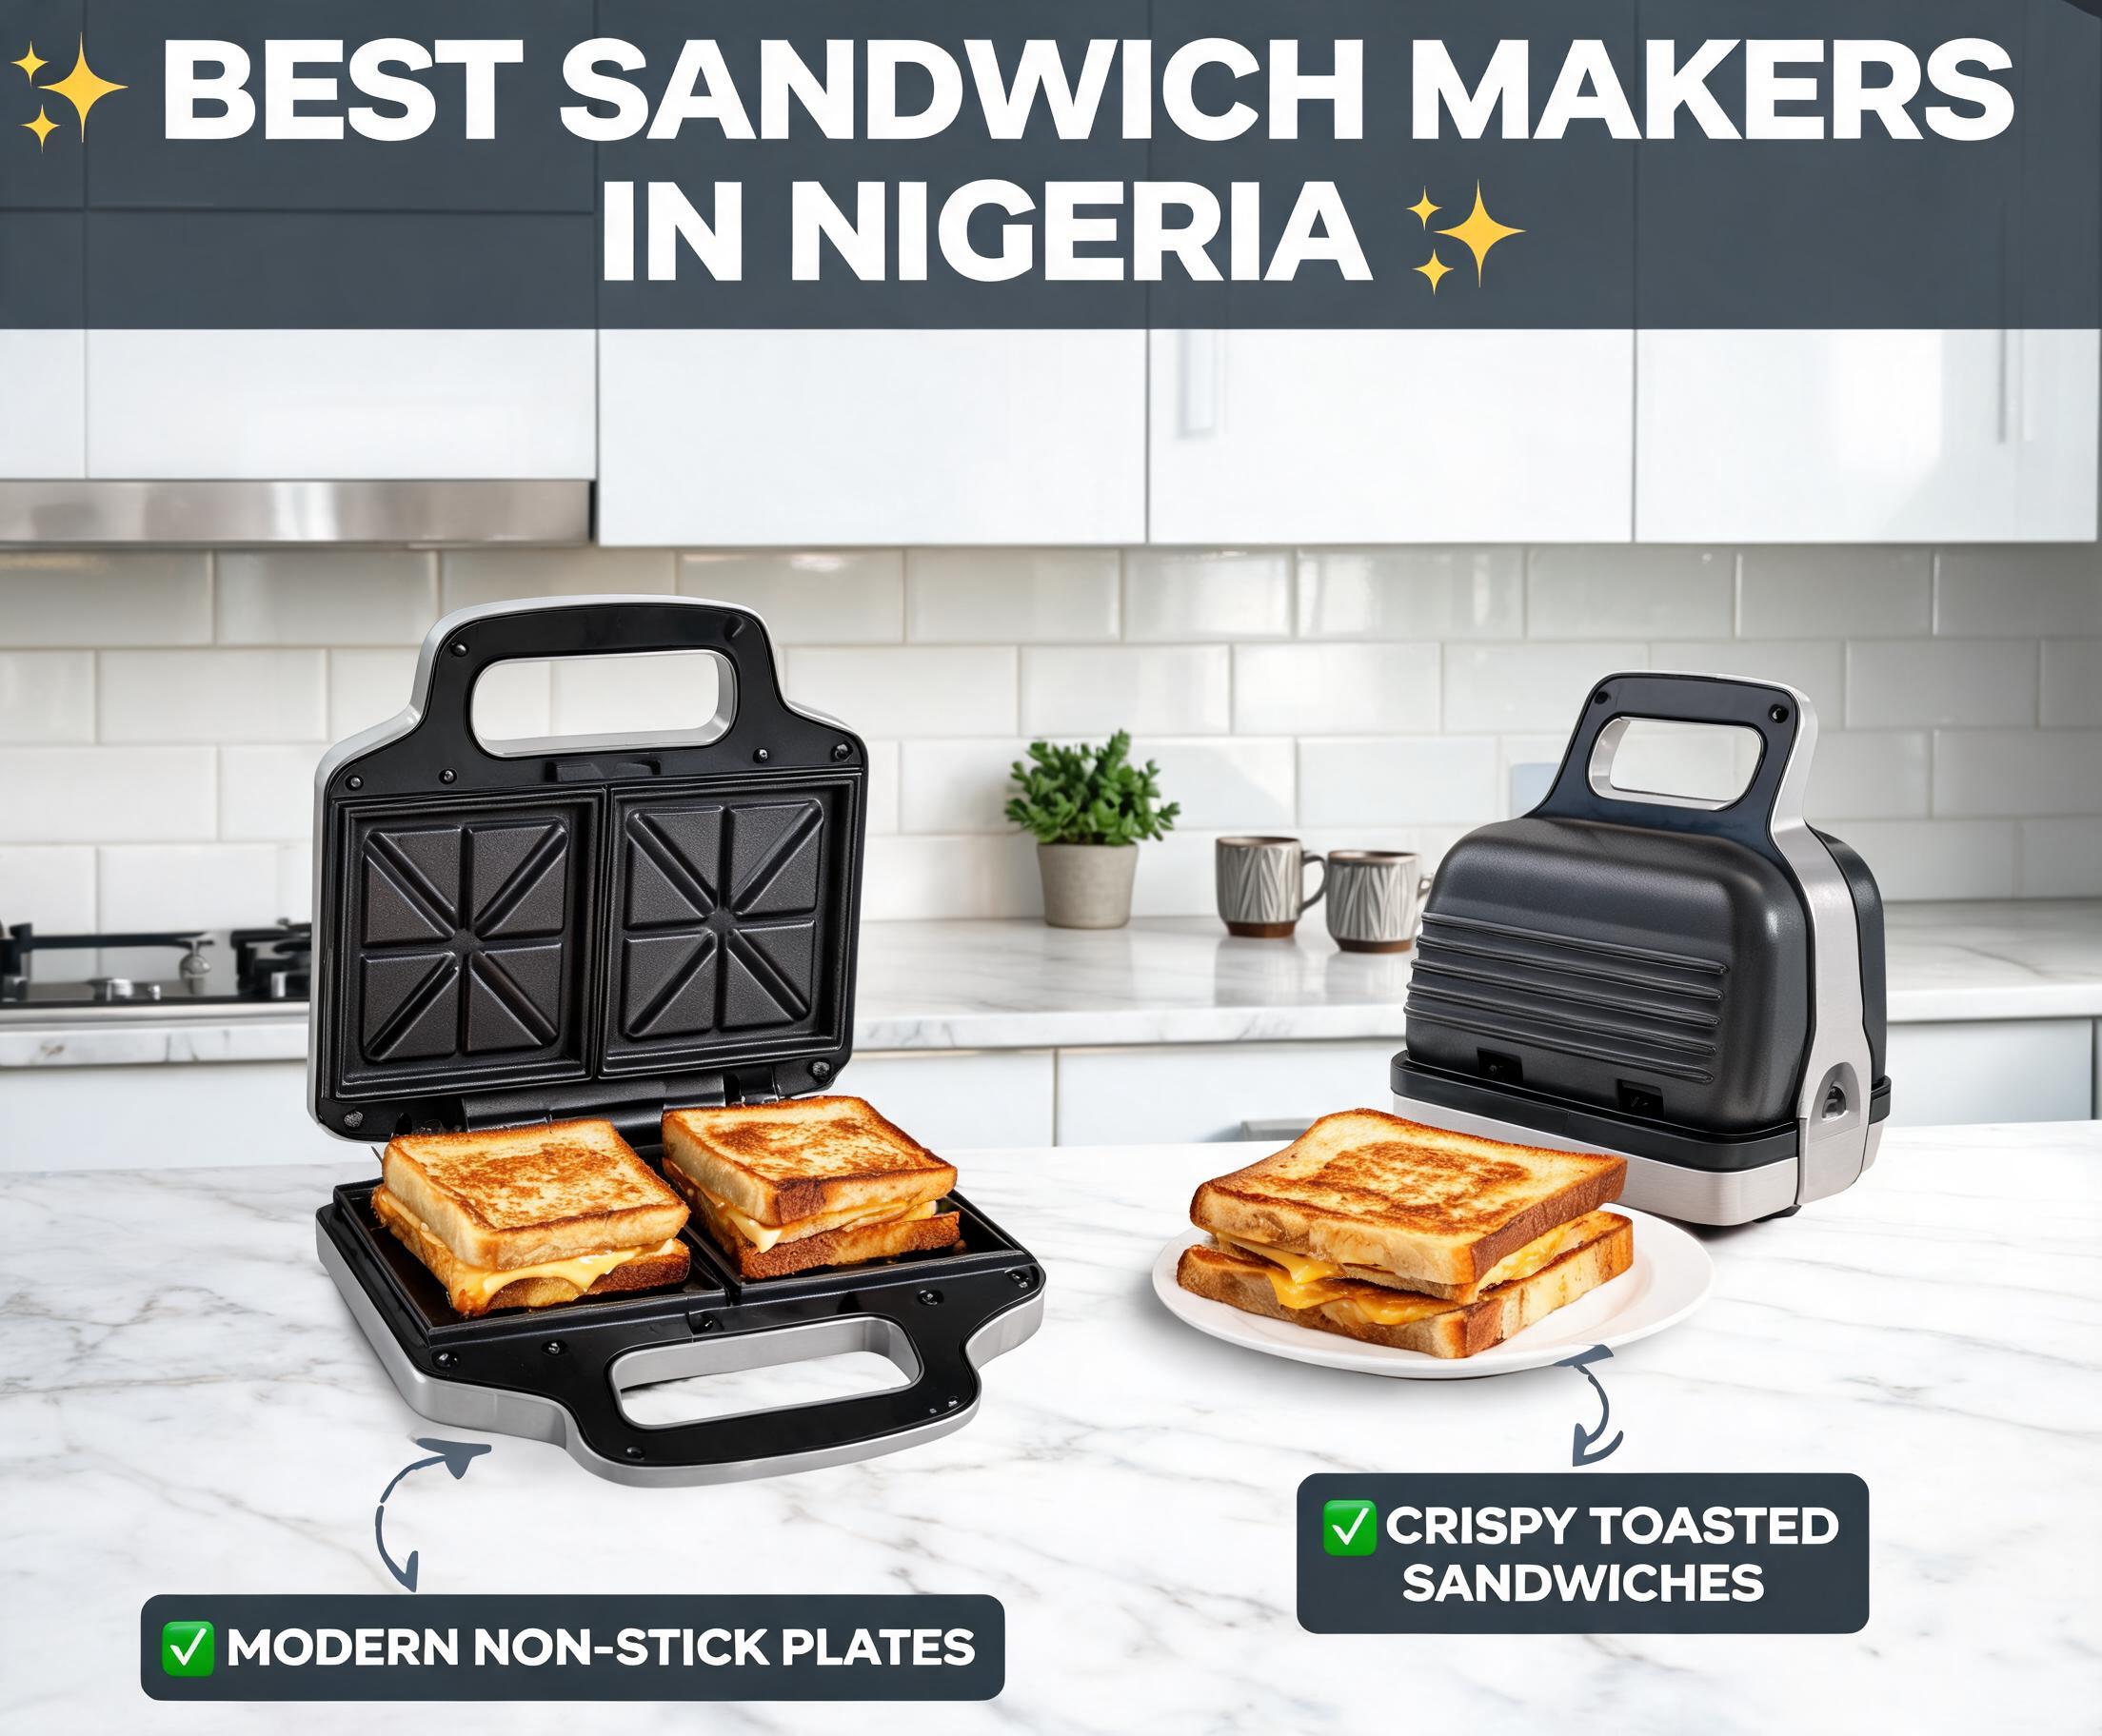
Use the Right Sandwich Maker
The quality of your appliance also affects your results.
Look for features such as:
- Non-stick cooking plates
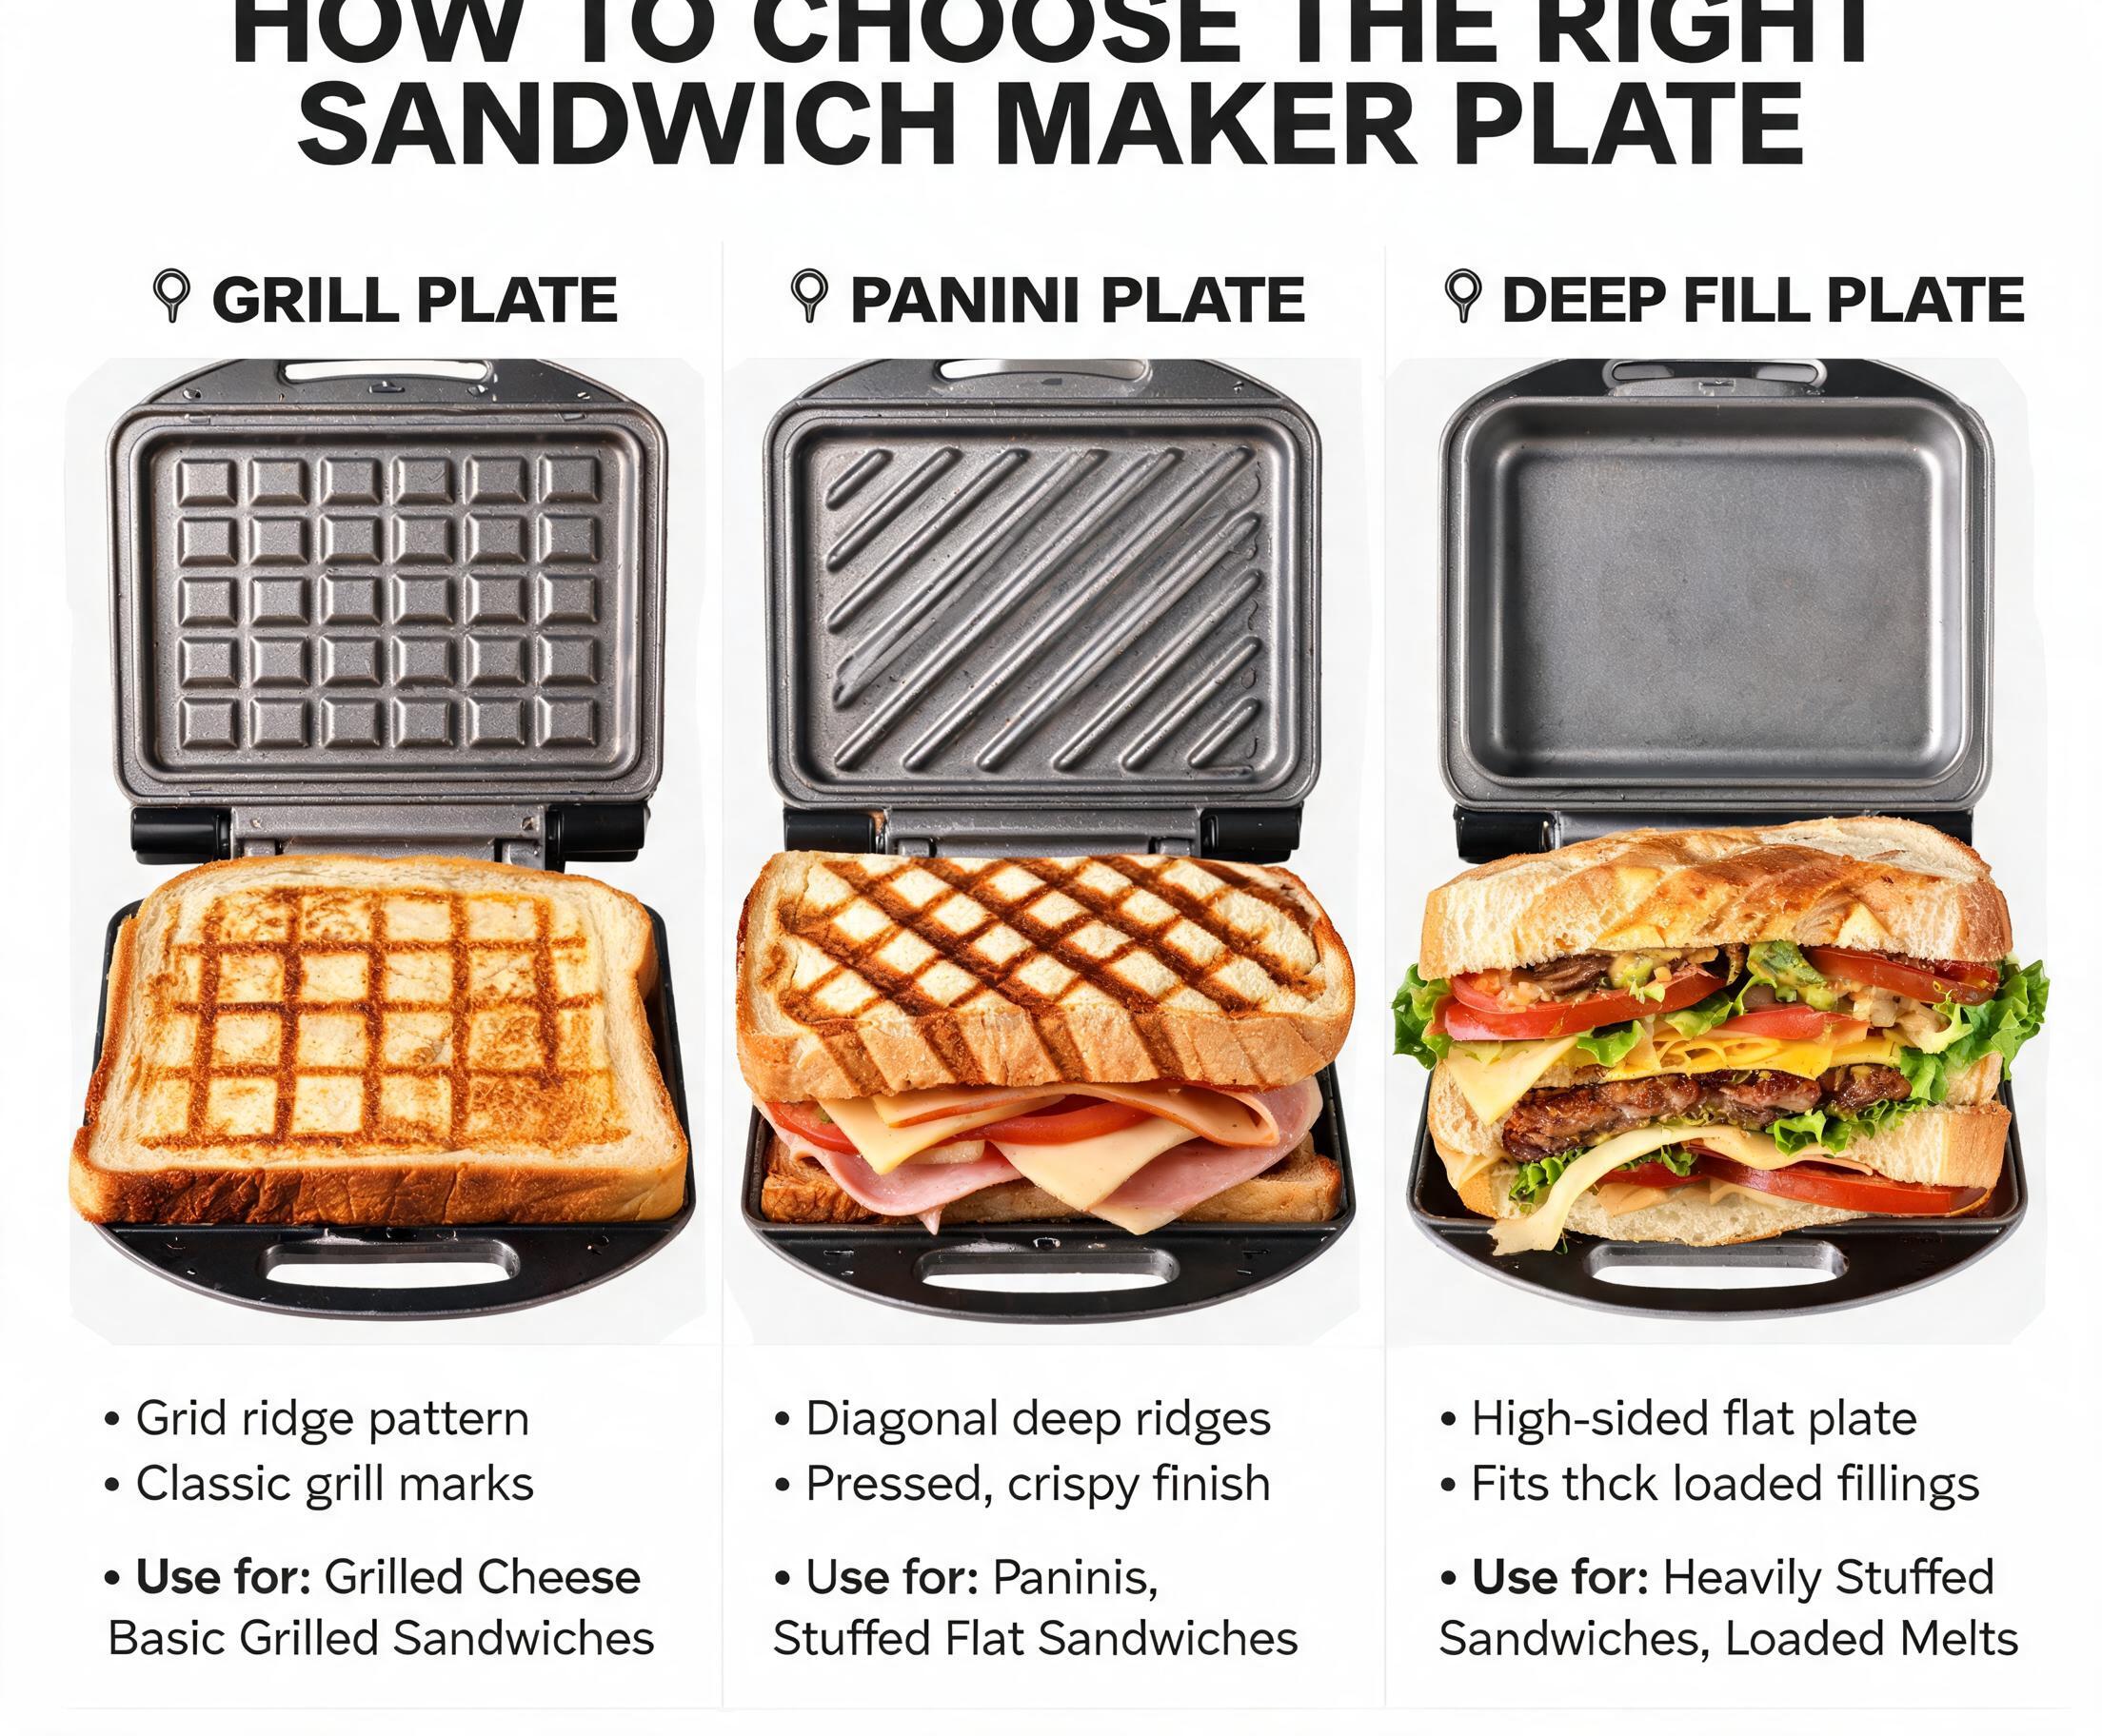
- Grill or panini plates
- Automatic temperature control
- Even heat distribution
- Cool-touch handle
- Locking lid
- Power indicator lights
These features make cooking easier while producing consistent results.
Cleaning Your Sandwich Maker
Proper maintenance keeps your appliance performing like new.
After each use:
- Unplug the appliance.
- Allow it to cool completely.
- Wipe the plates with a soft damp cloth.
- Remove food residue promptly.
- Never immerse the appliance in water.
Regular cleaning protects the non-stick surface and extends the appliance’s lifespan.
Why Homemade Paninis Are Worth It
Preparing paninis at home offers several advantages over buying them from restaurants.
You can:
- Control ingredient quality
- Reduce food costs
- Prepare healthier meals
- Customize recipes
- Minimize food waste
- Cook quickly whenever you want
Additionally, homemade sandwiches are often fresher and more nutritious.
Conclusion
Learning How to Make Crispy Paninis and Toasted Sandwiches Like a Pro is easier than many people think. By choosing quality bread, fresh ingredients, the right cheese, and proper cooking techniques, you can create delicious café-style sandwiches from the comfort of your own kitchen. Moreover, using a reliable sandwich maker, preheating it correctly, and avoiding common mistakes will help you achieve perfectly crispy results every time. With a little practice and creativity, you can enjoy restaurant-quality paninis and toasted sandwiches whenever you like.



 Get it on
  Download on the